If you’re looking for a digital audio workstation to make your own music, FL Studio is a great choice.
With its intuitive interface, easy-to-use step sequencer, and a wide range of features and plugins, FL Studio gives you the tools you need to create professional-sounding music.
It’s well-suited to both experienced producers and those starting out in music production.
In this blog post, we’ll look at how to use FL Studio, outlining the basics of setting up the environment, how to use the step sequencer, and how to make the most of the software’s powerful features.
We’ll also take a look at some of the best plugins available for FL Studio and how to use them.
Whether you’re new to music production or an experienced producer, this post will provide you with all you need to know to get started with FL Studio.
Setting up the audio interface
The first step to using FL Studio is setting up an audio interface.
An audio interface allows you to connect your audio equipment to your computer, and is essential for recording vocals and instruments into FL Studio.
Connect your audio interface to your computer via a USB port, and then connect your audio equipment to the interface.
Once the connection is established, you will be ready to record audio into FL Studio.
Creating a project
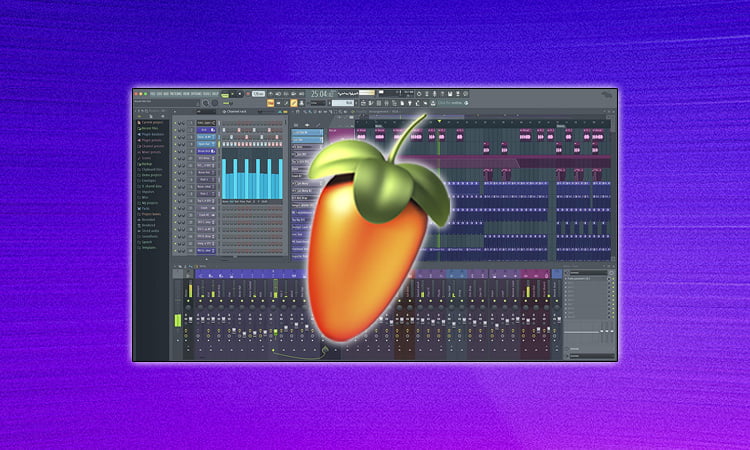
To get started on creating a project in FL Studio, open the program and you should be taken to the main window with the Step Sequencer at the top and Playlist window at the bottom.
Now, click on the “Project” tab at the top right of the screen and you will be able to select “New Project”.
A new window will appear where you can choose the type of project you want to create, as well as the tempo and time signature.
After that, you can start adding elements to your project, such as audio tracks, MIDI tracks, plugins, and audio effects.
Once you have everything setup, you can start creating your own music!
Adding and arranging instruments
The third step in learning how to use FL Studio is adding and arranging instruments.
When you open the FL Studio software, you will be presented with the Step Sequencer.
This is where you can add instruments and arrange them in the order you would like them to play.
You can also adjust the volume and pitch of each instrument.
You can use sample packs to create your own unique sound or use the pre-loaded samples that come with the software.
You can also layer multiple instruments to create a fuller sound.
Once you’ve added the instruments you want to use, you can drag and drop them into the Playlist window to arrange them.
Mixing and panning
The fourth step in using FL Studio is mixing and panning.
Mixing is the process of combining multiple audio tracks into one cohesive whole.
To mix in FL Studio, use the mixer window, which is found in the upper-right corner of the program.
From here, you can change the volume levels of individual tracks, as well as apply panning effects.
Panning is the process of adjusting the relative volume levels between the left and right channels, which can help make the sound more spacious and create a fuller mix.
Adding effects to sounds
FL Studio is a powerful music production tool that allows you to add effects to your sounds.
To add an effect to a sound, first select the sound in the channel rack.
Then, press F8 on the keyboard to open the mixer.
In the mixer, click the fx button on the channel you want to add the effect to.
This will open the effects window, where you can choose from a wide range of effects, from EQs and compressors to reverb and delay.
Once you’ve chosen an effect, you can adjust its parameters to get the desired sound.
You can also save effects and recall them later for future projects.
Working with automation
Working with automation in FL Studio is a great way to add more depth and complexity to your music.
Automation allows you to control the behavior of various elements of your project, such as volume, panning, and effects.
You can use automation to achieve effects like crescendos, swells, and fades.
To get started, click on the Automation Clip button in the toolbar at the top of the screen.
This will open the Automation Clip window, which allows you to create and edit automation clips.
You can then drag and drop these clips onto your project and use them to control the parameters you specify.
Exporting your final track
Exporting your final track is the last step in creating your song with FL Studio.
To export your track, first select ‘File’ from the top menu and then click ‘Export > Export Song/Project’.
Then you’ll be given the option to choose from different formats, such as .wav, .mp3, .aiff, .flac, etc.
After selecting your preferred file format, name your track and save it in the desired location.
Once the export process is complete, you can now share your newly created track with the world!
Uploading your track to streaming services
After you’ve completed your track, the next step is to upload it to streaming services.
This is the best way to get your music out to the public. First, you’ll want to save your track as a WAV or MP3 file.
You can do this by going to “File” and selecting “Export.”
Then, you’ll be able to upload it to streaming services like Spotify, Apple Music, and SoundCloud.
Keep in mind that it can take up to 24 hours for your track to appear in the streaming services.
Conclusion
Overall, FL Studio is a powerful and versatile digital audio workstation used by professionals and hobbyists alike.
With its user-friendly interface, powerful tools, and immense library of sounds, FL Studio offers an incredibly powerful platform for creating and editing music.
With the right guidance and a bit of practice, anyone can learn to use FL Studio and produce professional-grade audio tracks.


