In this quick tutorial, we will see how to add sound packs to FL Studio due to FL Studio has become the most popular music production software in recent years, and there are a lot of new producers like you, who are eager to add the first packs to the DAW
This undoubted success may be because for its intuitive interface and probably is the easiest-to-use professional DAW, especially for novice producers who are starting to create their first beats.
While it is true that FL Studio comes with hundreds of preset sounds, with which we can do real wonders.
It’s possible that they may not be the best option for creating other genres such as trap, hip hop, lofi, etc.
Knowing all this it is easy to understand why in VILARCORP we received hundreds of emails asking us how to add our sound packs to FL Studio.
That’s why we’ve put together this short but effective foolproof guide on.
STEP 1. Download sound packs
The first thing would be to get packages to download.
There are a lot of websites where you can download free and copyright-free sound packs.
In our Drum Kits section you can find trap, lofi, hiphop, etc.
You can also visit the Loops section that has packs with samples to create incredible beats.
Choose the packs you want and place the order.
If you placed the order correctly, you will receive a download link to the packs in your email.
You click it and it will automatically download to your computer.

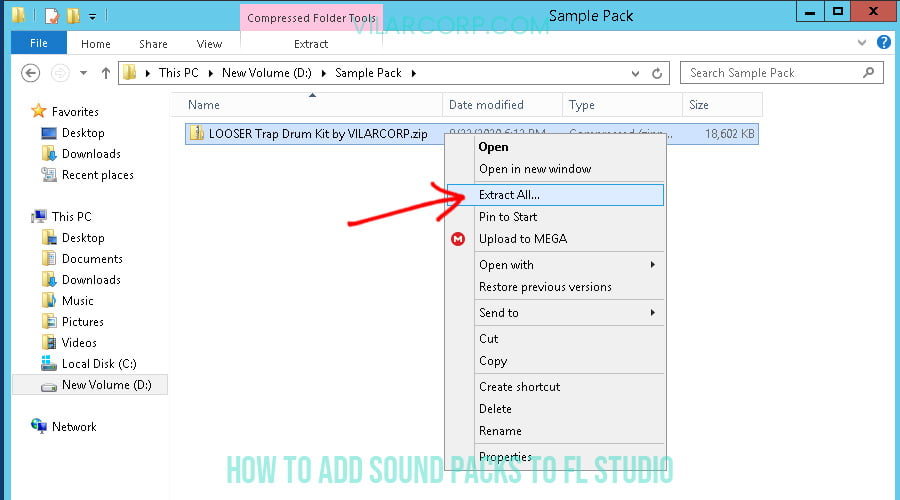
STEP 2. Unzip the file into a folder
When downloading a pack it is common for it to come in .ZIP or to a lesser extent .RAR format
The procedure to decompress them is the same.
Right click and extract here.
Once you have the unzipped folder you can delete the .ZIP file
Note: If your computer does not have an unzipping program, you can use 7zip or Winrar.
STEP 3. Create a folder for your sample packs
While this is an optional step, it is highly recommended that you have a custom folder to store your sound packs.
To do this, it is best to create a folder somewhere on your computer where you know that you will not have to move it.
For example, I have a folder in My Documents called Samples where I add all my packs in subfolders
This makes it easier to organize, add or modify the sound library.
STEP 4. Import the sound libraries to FL Studio
Once you have the folder created and located, we proceed to indicate to FL Studio the location of our sounds folder.
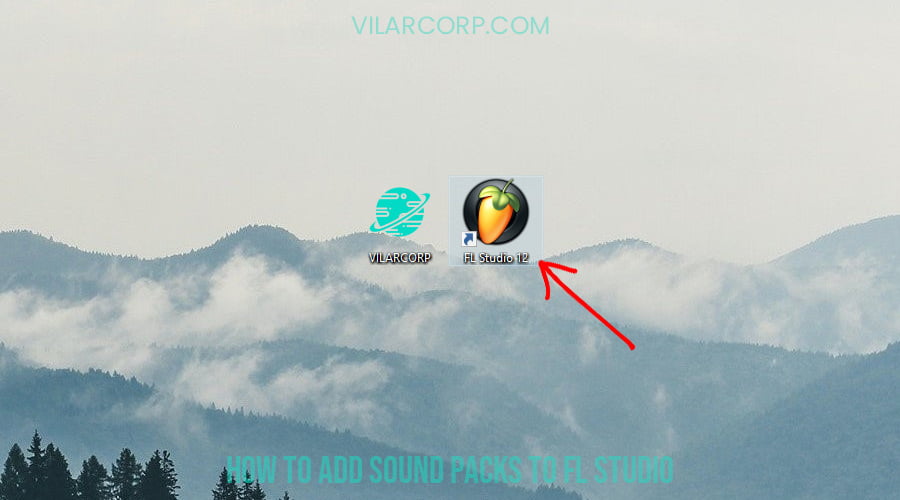
To do this open FL Studio.
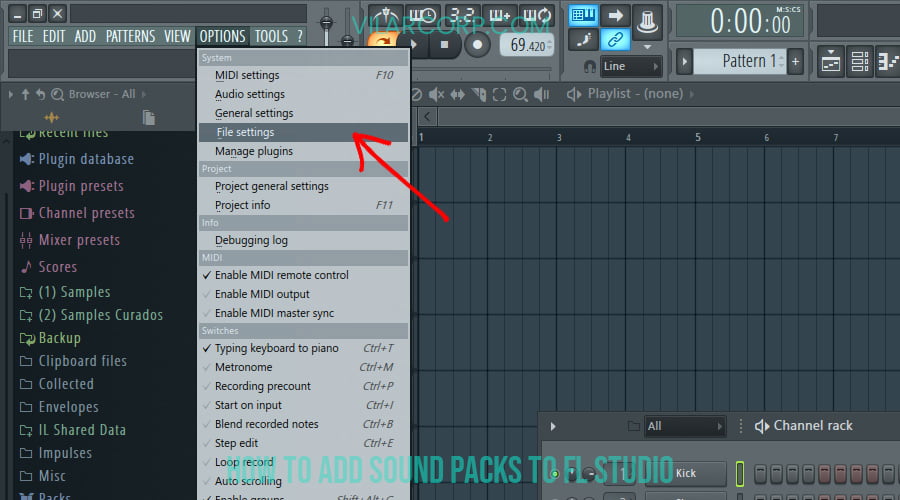
Go to the upper left and locate Options and click on it.
A window will be displayed, select the File Settings option.
In the File tab, we will get the default locations.
We select the small folder in a free space.
A window will open where we must specify the location of the folder that you previously created.
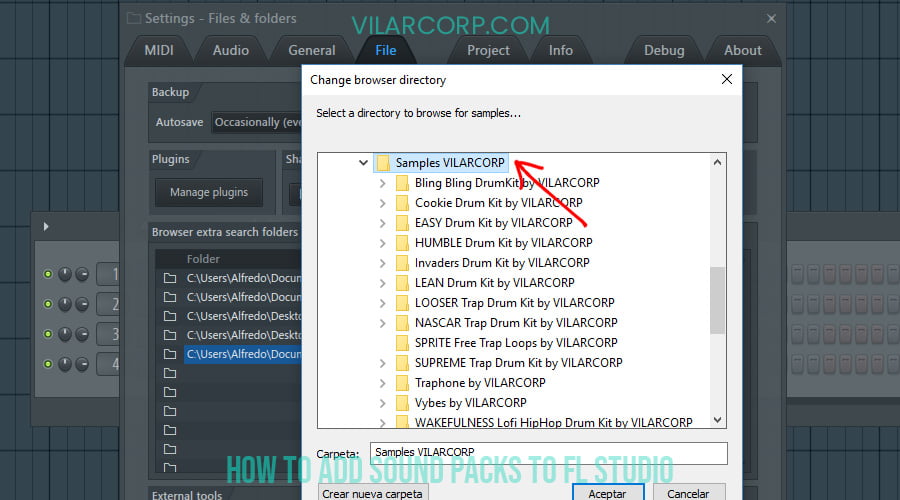
Something like this C:PCMy DocumentsSamples
Once selected, it will be marked as seen in the image below.

Now you can close the windows and to update the search we go to the reread structure icon.
This will allow FL Studio to refresh the sound libraries.
(This step can be done quickly with the command Ctrl + R)

And it’s done!
You already have your sound library correctly added to FL Studio.
Remember to subscribe to our YouTube channel where we upload new packs every week.
Review
How to Add Sound Packs to FL Studio
Review Breakdown
-
How to Add Sound Packs to FL Studio


